Category: Part 1 – Painting and / as performance

Project 5 – Considering Painting – Exercise 1.4 Contextual Focus

The scope of this essay was considerable, the questions asked were: What do I feel painting is and what it isn’t? The purpose of painting and what it is for? Starting and finishing a work: where does an artwork begin and end? Knowing what I am doing: Is it unhelpful to know what I’m doing and is it possible to know when I’ve done?

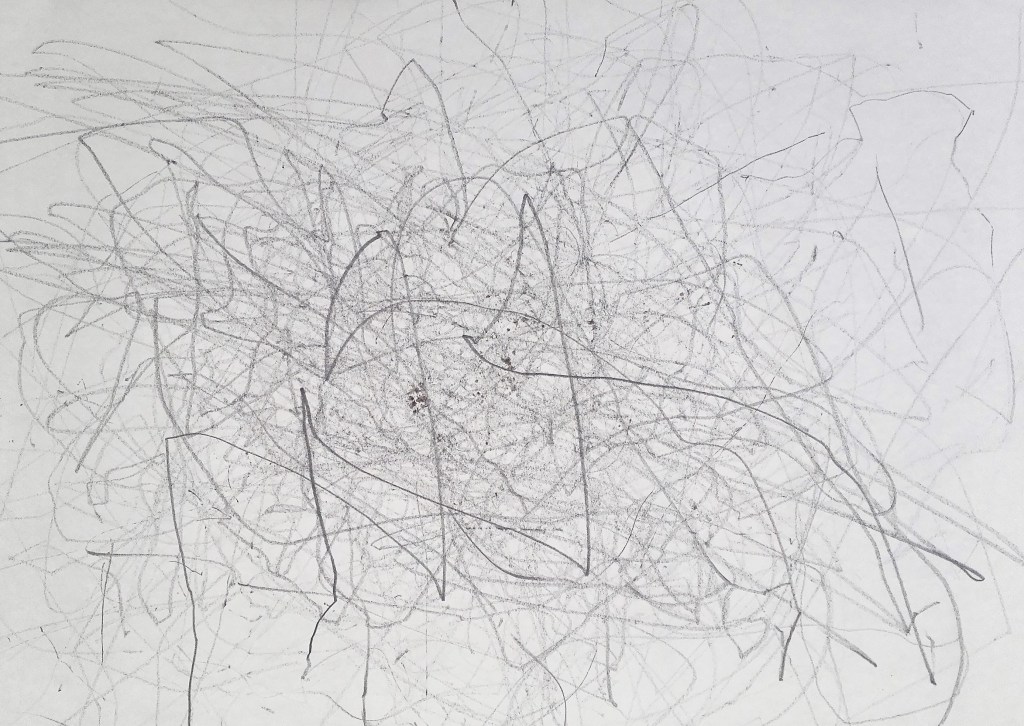
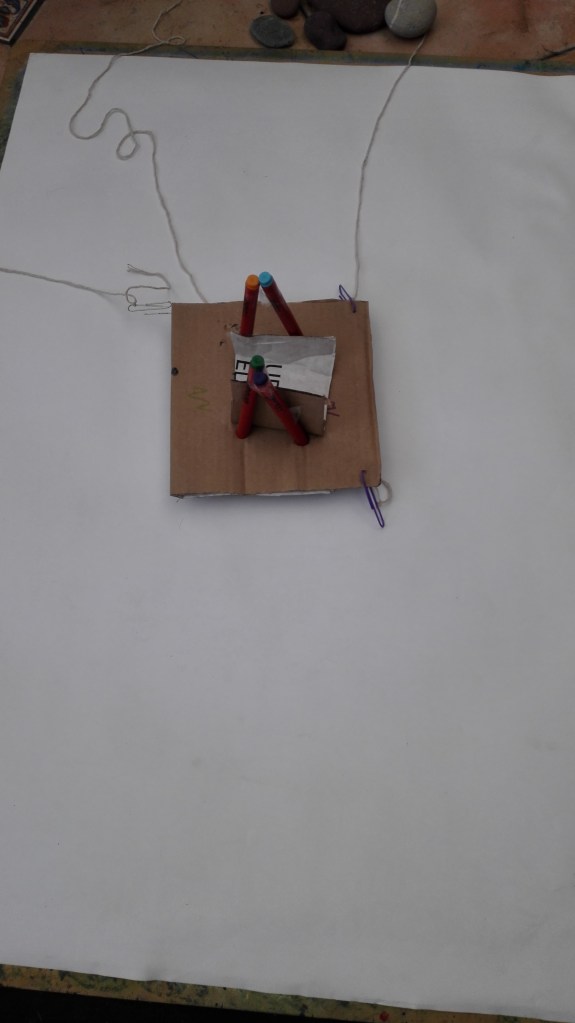
To set the tone a to provoke questions it was suggested that I read a text by Lee Ufan entitled ‘Robots and Painters’. This discussed how, with the ever increasing of sophistication of robotics and computer generated graphics, robots can paint. The question that arises is, Is this really painting? Or Is it the production of a predetermined result? The robot can be made to carry out precise actions beyond the most technically gifted artist. However these actions have to be given, programmed, there is no learning or critical assessment. How does the robot know what to paint? Can it have an emotional involvement in the work? In breaking down the process of painting into data the emotional connection is lost. The act of painting is, I believe, more than a series of commands. There is an interaction between the artist and his materials. To quote from the text “the art of painting belongs in a different dimension from the system of knowledge” There are not a set of rules but an infinite range of possibilities and possible outcomes”. Robots and computers only reduce the possibilities.

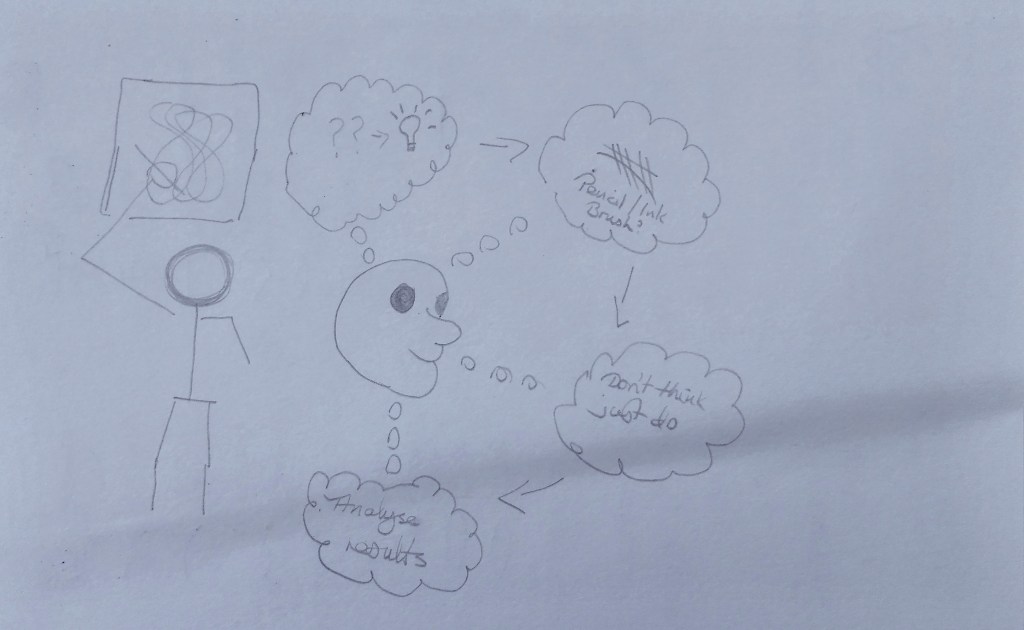
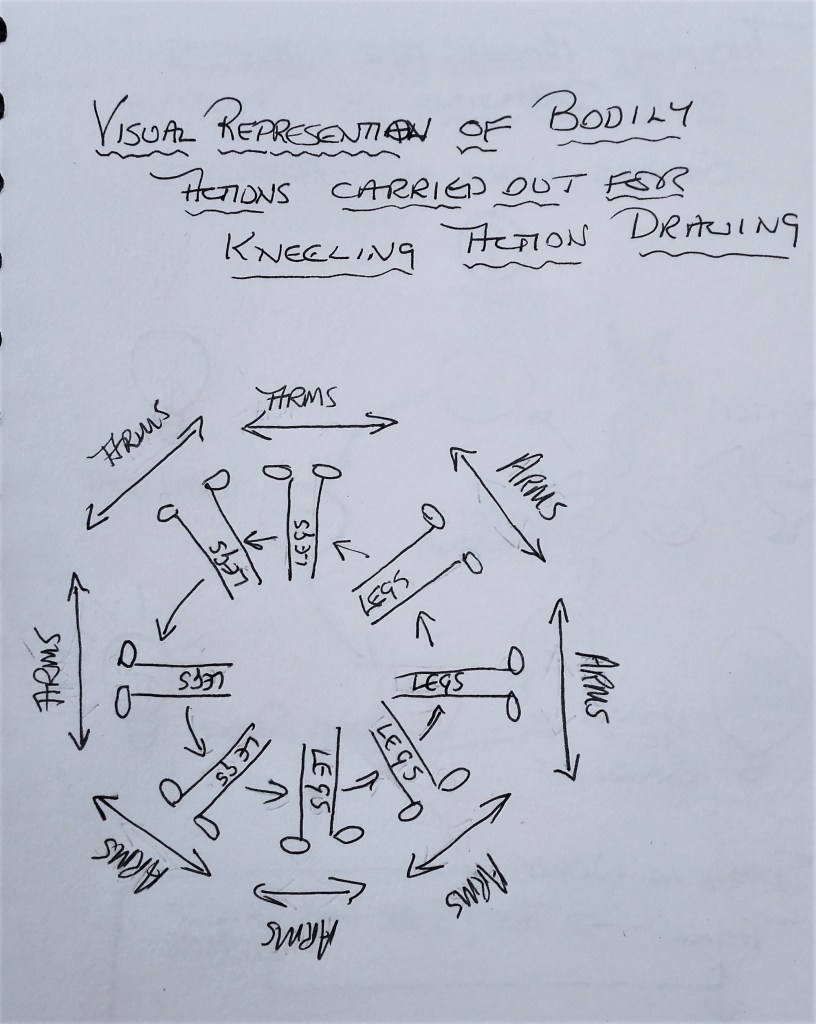
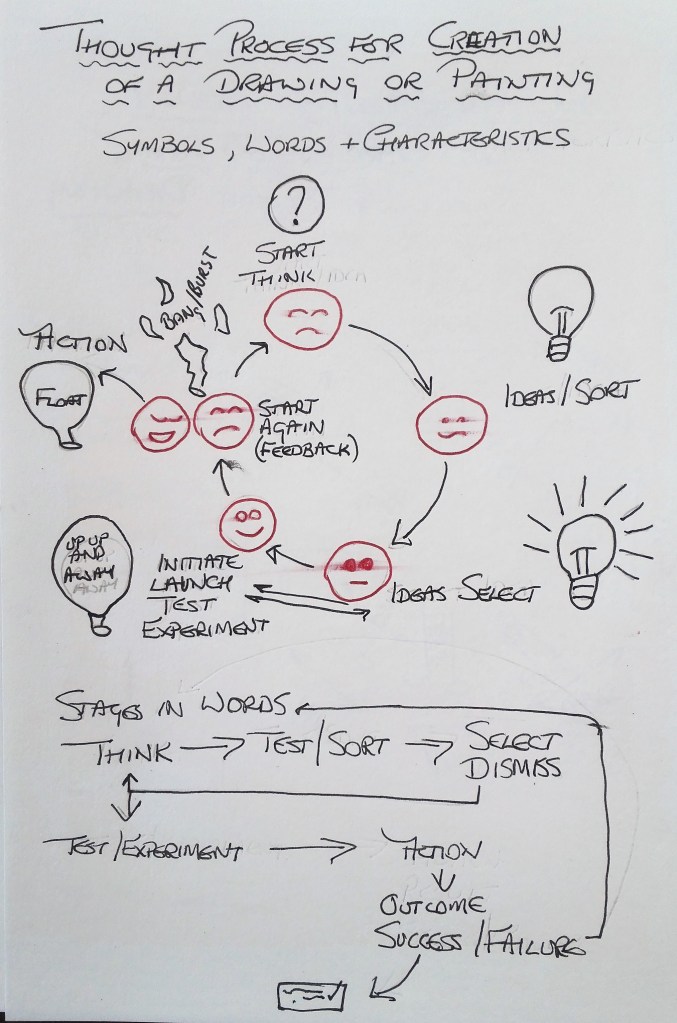
To try to condense my thoughts and also to structure them in such a way that I could write a coherent piece I draw up a simple mind map and proceeded to document my thoughts on each of the questions.

What do I feel painting is and what it isn’t?

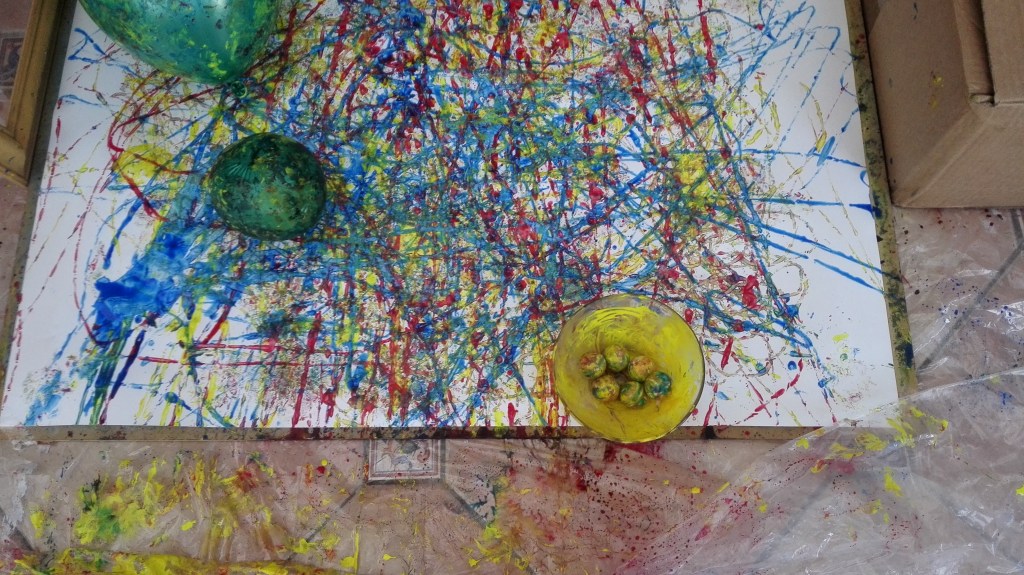
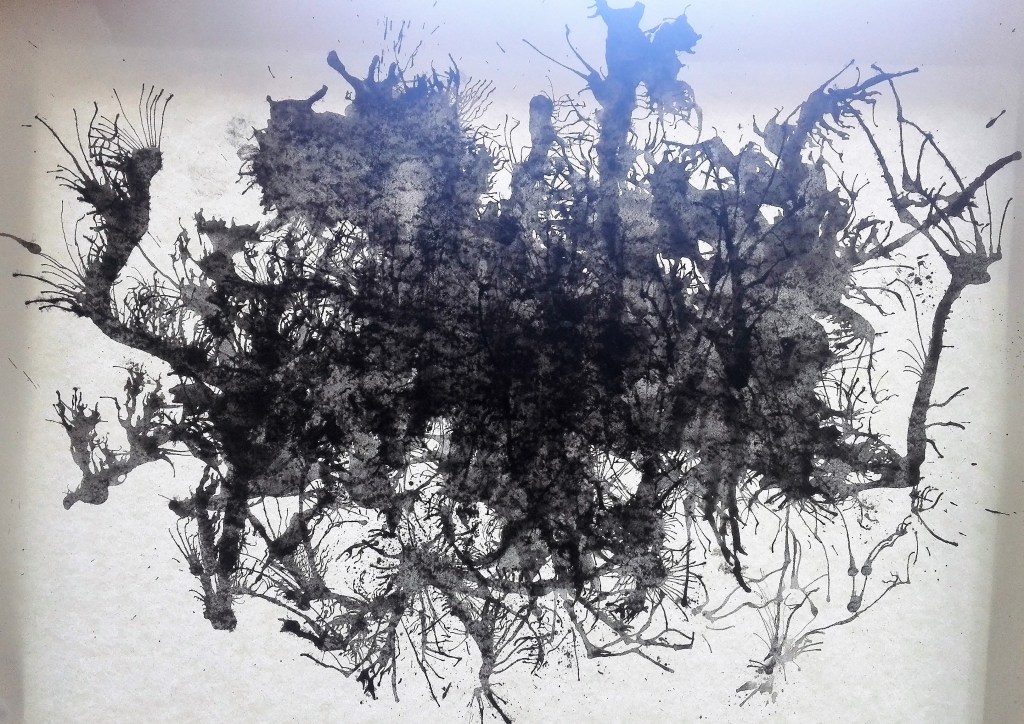
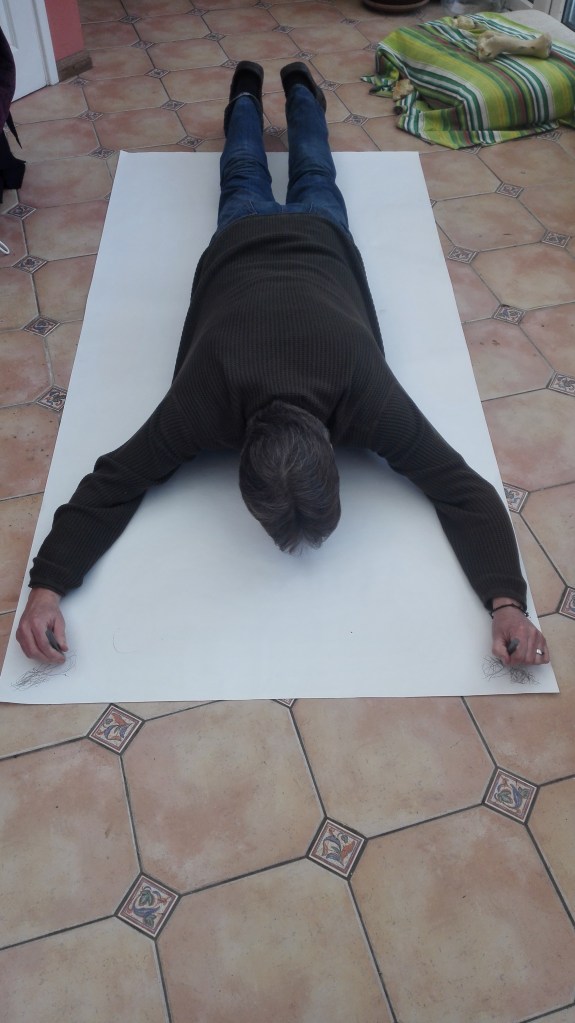
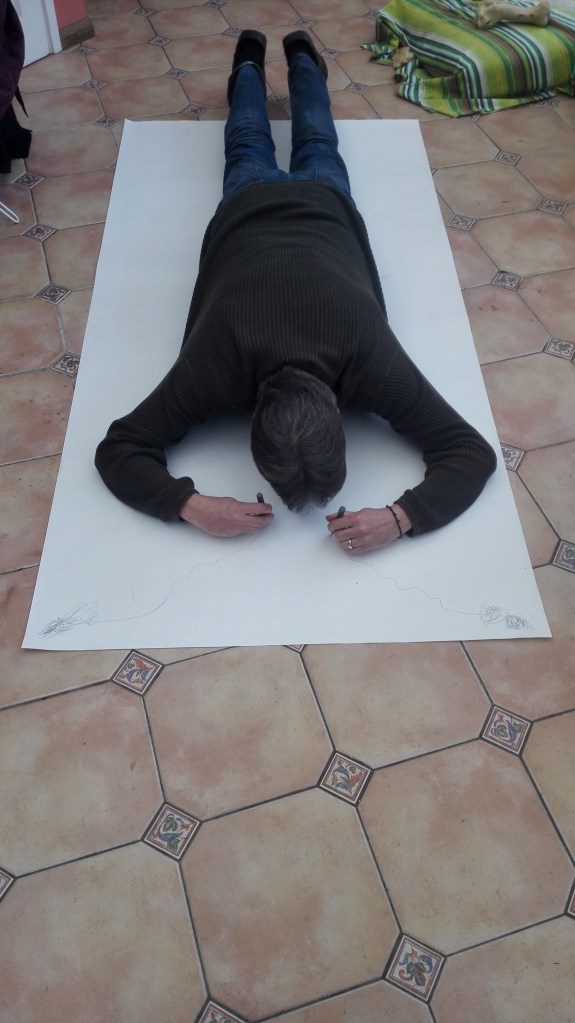
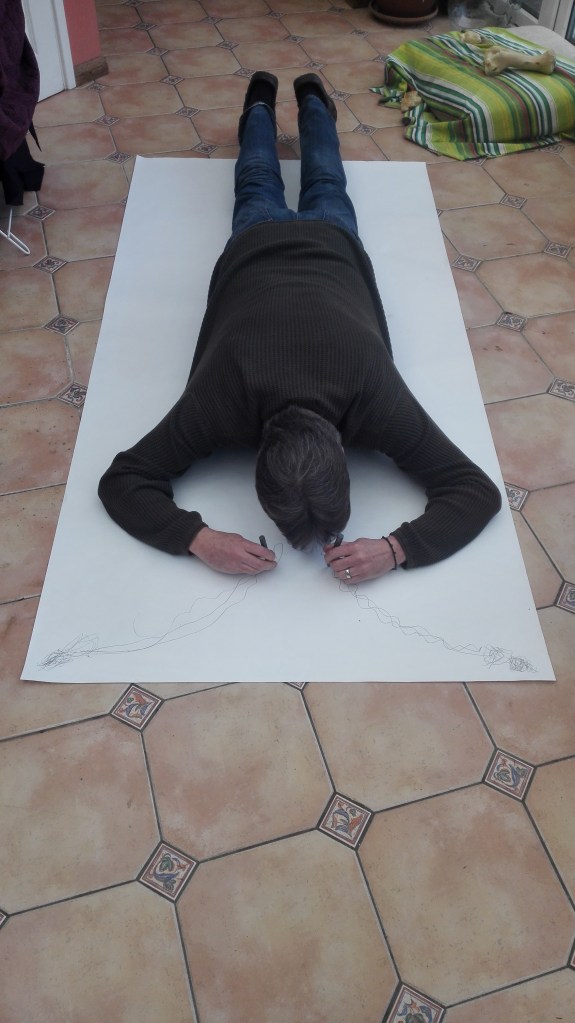
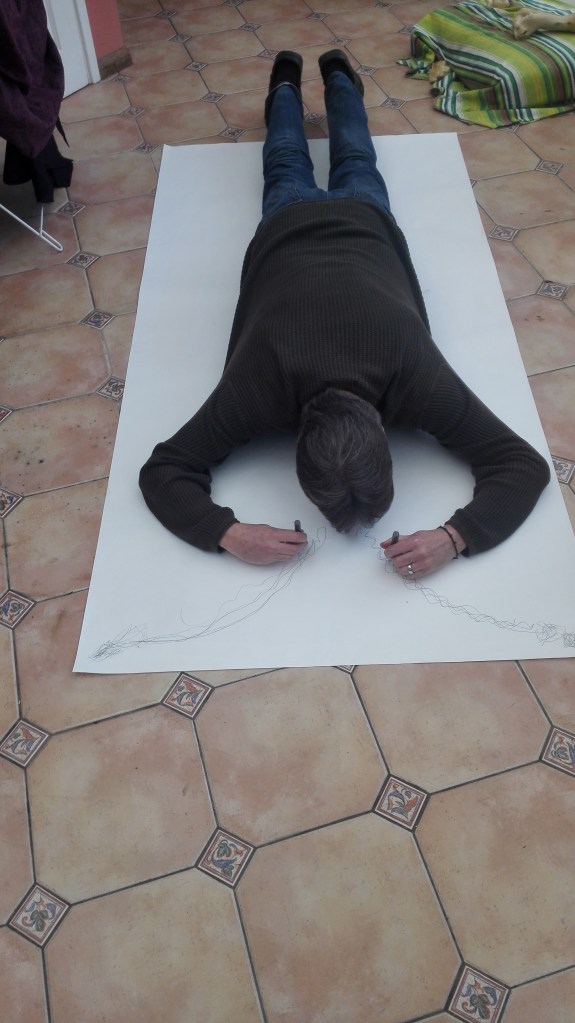
In simple terms painting is a record of an interaction between artists and their materials. It doesn’t matter whether the results are pleasing to the artist or the viewer. The finished work is the result of a number of actions, thought processes and decisions. Painting is open to interpretation it is a visual conversation between the artist and the viewer. It is what the artists sees or feels.

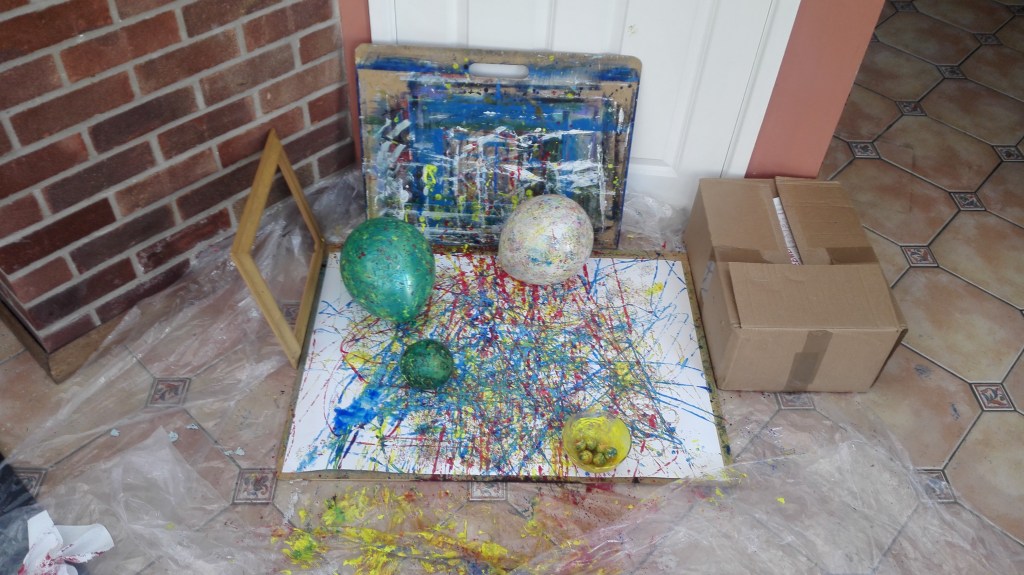
It is not a conclusion or answer. More often than not it asks questions. It is not limited to canvas and brushes. There are many different ways that an artist can paint, many supports that can be painted on and many ways materials can be applied. Painting is not photography but can be a record of a time or place. Painting is not a science there are no rules. Painting is not the same for everyone.

The purpose of painting: what is it for?

It is a means of communication. What the artist was thinking or feeling. An outlet for expression. It is beyond language. A documentation of the human condition. A representation of the artists thoughts.

Starting and finishing a work: where does an artwork begin and end?

For me an artwork starts with an idea. This can be suggested by an image, a scene, a feeling and the desire to try to communicate this. The inspiration can be fleeting, a certain light momentarily caught, or a growing urge to convey something about what I see.

Finishing a work is always more problematic. I am not sure that I have ever really got to the end of a painting. I reach a point where I stop working on it but is this the end, is it finished? I always have a doubt. Sometimes I will revisit a work and rework sections. at other times I leave it. It depends on the level of satisfaction that the work gives me. A question I ask myself is, will further work improve it, have I reached a point where further work will only detract and the work will deteriorate? The answer to these questions is never fully resolved but at some point I stop.

Knowing what I am doing: Is it helpful to know what I am doing and what I have done?

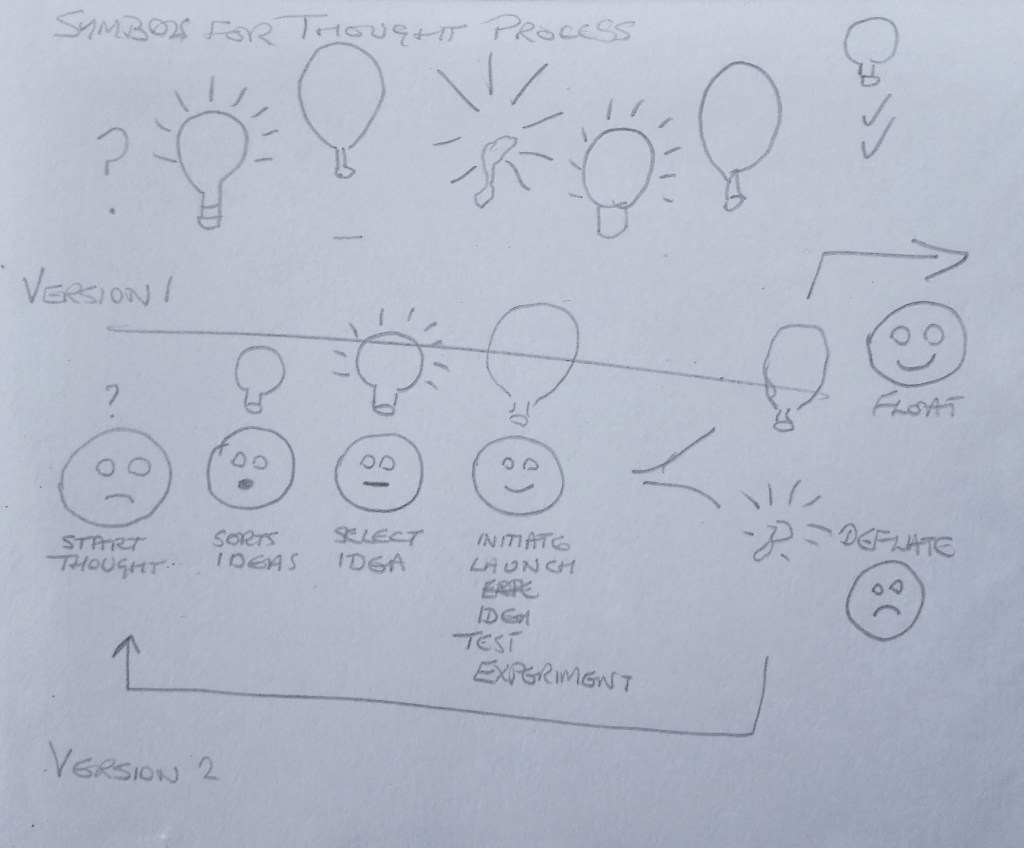
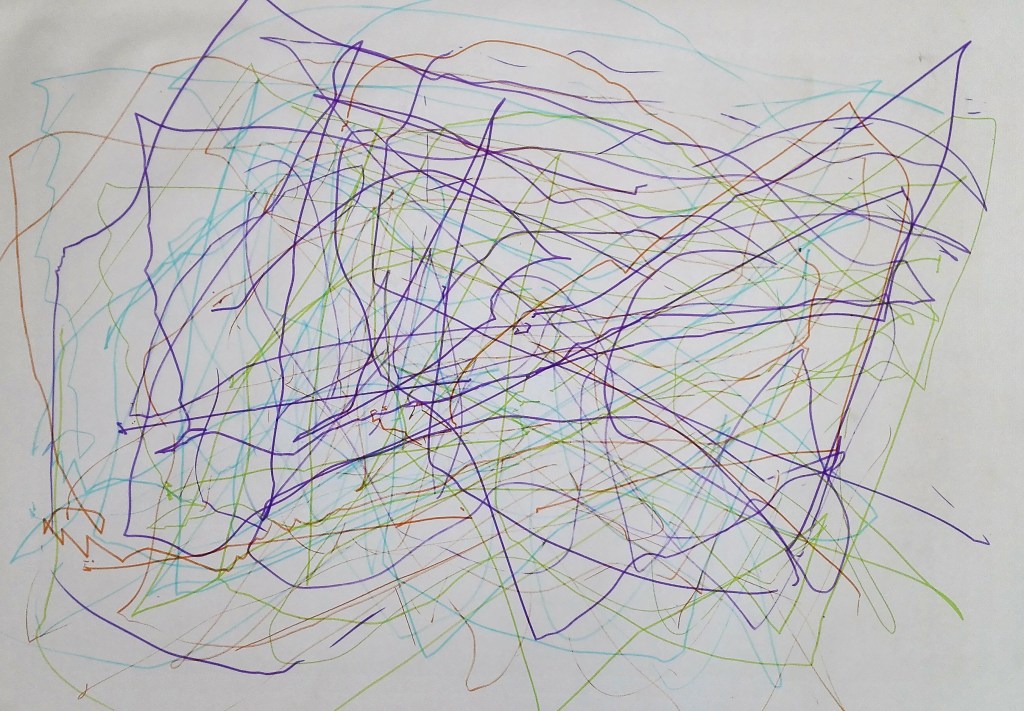
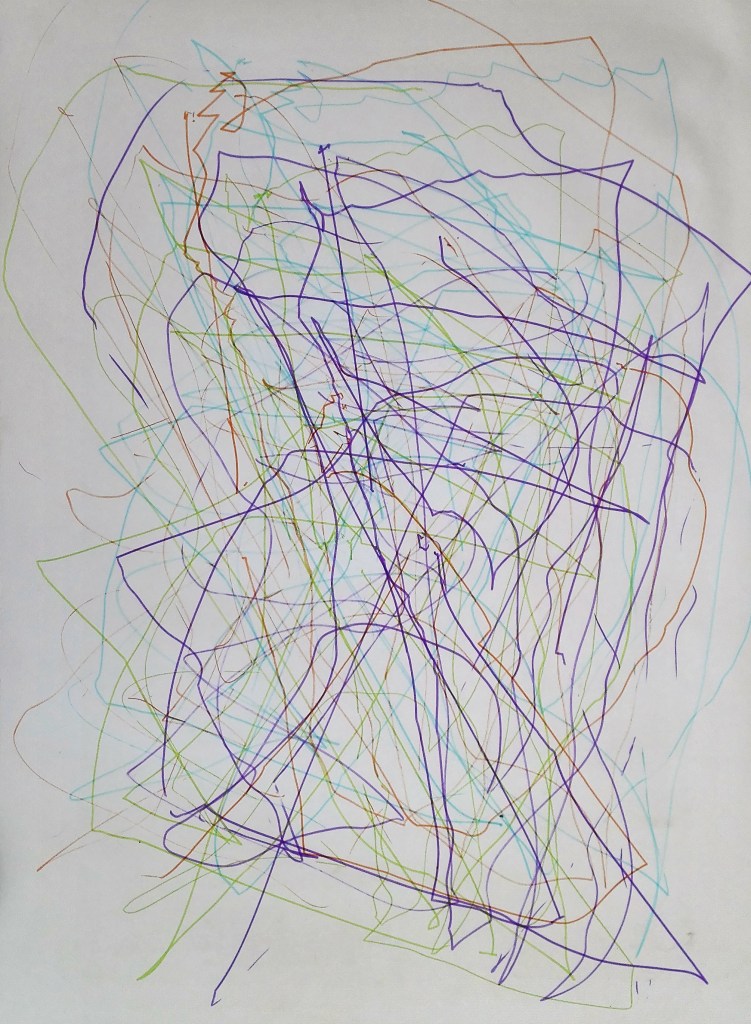
To answer this question I have to ask myself what I was, am, trying to achieve with the work. In most cases I feel that I need a direction, a focus, a route towards what I want to communicate. The final outcome will be indeterminate and the work will unfold as I proceed. I will make decisions as the work progresses.

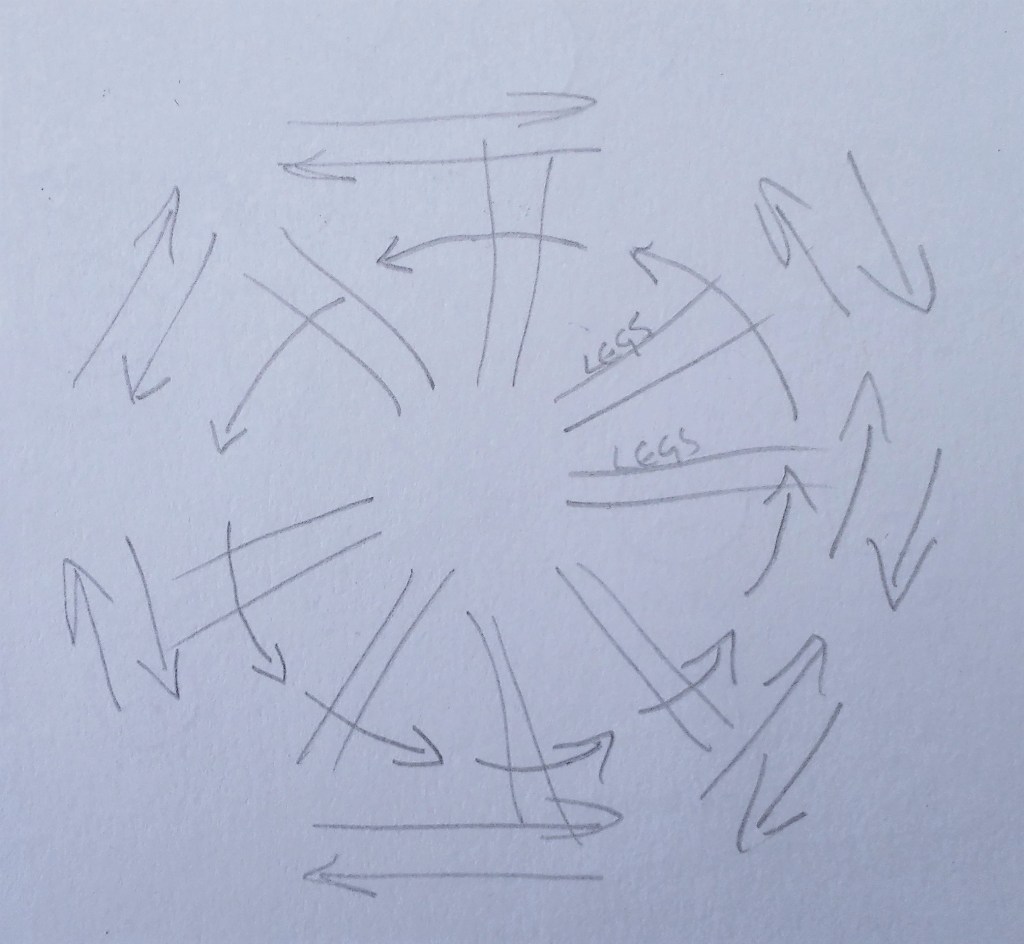
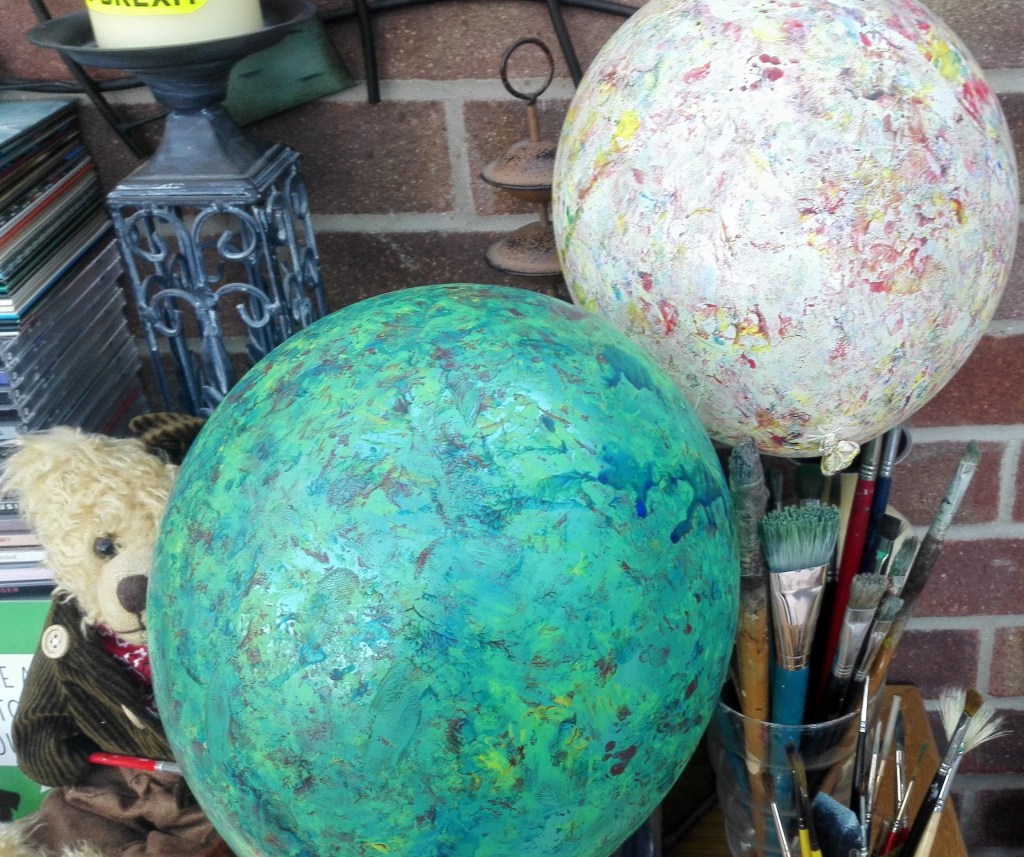
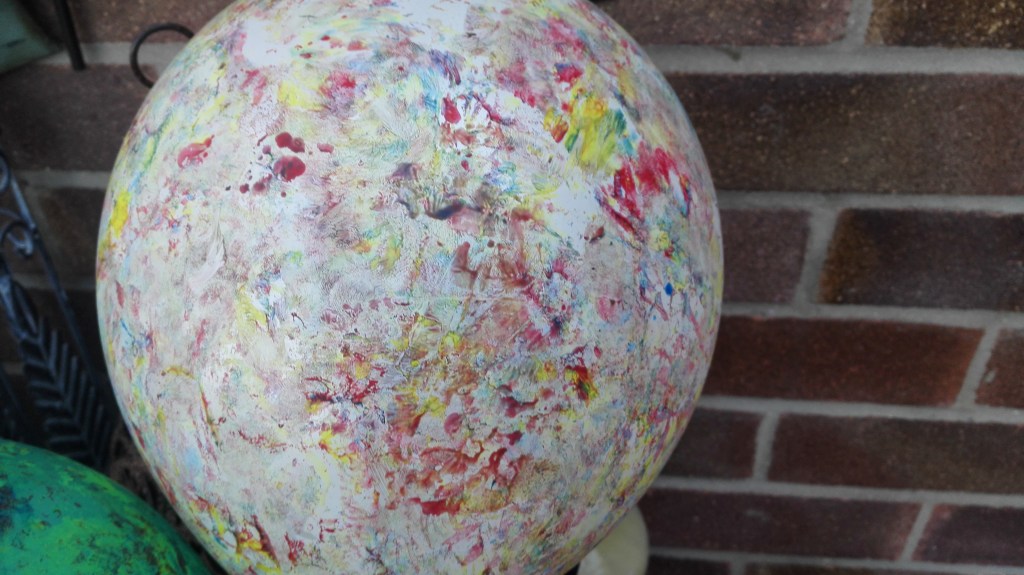
At some point during the process I will try to evaluate what I have done. Is it successful, what were my intentions, what was I trying to achieve? This is a feedback loop that goes round and round until I reach the point where I stop. The internal questioning is easier when I have some concept of where I was heading. This is more difficult with experimental works as the outcome is not defined. The question remains the same am I happy with the outcome if not what needs to be done.

Project 3 – Visual reflection – Exercise 1.2 Mapping / Diagram

Although I had a number of ideas I struggled to get going with this exercise. I had already moved past this exercise and completed Project 4 Exercise 1.3 which I have already documented in this blog. Finally I decided to try and get my thoughts down in a diagrammatic and visual form.

I started by thinking about the Kneeling Drawing exercise that I completed and tried to put down my actions in a diagrammatic form. By using a series of line and arrows I represented the movements of my legs and hands. Quickly following on from this I tried to show in symbol form the thought process that I usually go through when thinking about commencing a painting or drawing. Lastly I thought about the process of thinking itself and the physical act of drawing or painting.

The initial diagrammatic drawings and sketches that I produced are shown below.

I had already taken note of the mention to record my thoughts and to the end I made a mental and physical note to regularly do this when I walk Fred, our dog.

It was whilst thinking about how to record human movements that I remembered a technique called THERBLIGS. I had come across this whilst completing my Accountancy studies many years ago. It is a system developed by Frank Bunker Gilbreth & Lilian Moller Gilbreth to record movements in time and motion studies. Therblig is an anagram of Gilbreth.

I looked up Therbligs on Google and noted that it consists of 18 kinds of Elemental motions used in the study of motion economy in the workplace. I wondered whether I could adapt this to the actions used in the studio. I’m sure that it could be adapted but even if successful it would only record the physical movements of the artist and not the thought process which is equally if not more important.

Therbligs

I further developed the physical diagram for the bodily actions carried out during the kneeling drawing.

What does this tell me about the drawing or the process? It gives an idea of the how the drawing was created but not the why or any evaluation of the outcome. In this respect I find it unsatisfactory.

Moving onto the thought process I developed the symbols, words and facial characteristics of the process that I go through when trying to create a drawing or painting. In some cases this process is more or less instantaneous at other times it can be drawn out over days, weeks or months. The process is the same. I have represented it in the diagram below in two separate ways. In the first instance I used a combination of symbols, words and facial characteristics in a circular flow diagram and for the second I used words only.

Could this be helpful to me. In a fairly basic way I believe that it could as it could point out where I am in th2 creative process. I feel I could develop the “ideas / thought” , ” ideas / select” and “experimental” phases further. To me this is the taking of an idea through the sketchbook phase to the embarking on a final piece. I suspect that I will refer to the processes documented in the diagram in my head rather than noting them down. However I will try to use the process when reflecting on completed work. Will it give me an indication as to where the successes and failures were?

Project 4 – Further Exercise 1.3 Things perform for you – Experimental painting 2

Balls and Balloons.

For this painting I used small bouncy balls and balloons. The ball were bounced across the support after being covered in blue, red and finally yellow acrylic paint. When this part of the painting was complete the two balloons were bounced repeatedly onto the painting, this mixed the paints on the support and created texture and drama to the marks made by the balls. An unexpected outcome was that the balloons became decorated with interesting random patterns.

I did think about whether I could use the balloons in the final painting and in a version of the final work I attached them to the painting.

The effect of the paint on the balloons.

Below are two are the two versions of the painting, with and without balloons. I think that similar to the other painting in these two experiments the resultant painting has a party feeling. Whether this is a inferred connection due to the used of the balloons or how they have effected the painting in unclear to me.

Finished painting without balloons
Finished painting with balloons

Project 4 – Exercise 1.3 – Things that perform for you -Experimental painting 1

For this experimental painting I assembled an array of equipment, no brushes. I had balloons, party poppers, a straw, a dart, string, six small bouncy balls, a food syringe, a small yoghurt pot, black drawing ink and yellow and red acrylic paint.

A board was set up at a 25 degree angle on the floor and paper (580mm x 790mm) taped to the board.

The ink and paint was fired at the support, starting with the black ink and then the red acrylic paint and lastly the yellow. Then balloons were bounced over the paper in random ways. I threw a dart at one of the balloons, popping it. However this made little impression. The last action I carried out was to fire the party poppers at the painting. These stuck to the paint and drooped across the painting.

I took photographs as I progressed, see below.

The equipment after use.

The finished painting can be seen below. I like it, it has a party feel to it, exploding fire crackers or fireworks. the paint that has run down the painting creating trails which are reminiscent of rockets. The techniques could be refined and perhaps more colours could be used. I do wonder whether the black ink was a good choice. An alternative approach could be to perform a similar painting on a black support. however I feel that this would be moving away from the random element of its construction. The random aspects of the process would be compromised and it would to a contrived and conceived piece.

Part One – Projects 2 & 4 – ‘Random Drawing with manufactured tools’

Following the experimentation with paint and ink I looked to try to create some drawings where the marks were made using tools in which tried to remove direct human interaction. To do this I thought of ways in which pencils, graphite sticks or felt tip pens could be pulled or dragged across paper. I started with a fairly simple contraption which I gradually adapted and created a series of drawings. The process and results and my reflections are discussed below.

Method 1 – Three graphite pencils were pushed through apiece of cardboard and a paper clip connected to the cardboard and then a length of string tied to the paper clip. The contraption was then pulled across a piece of paper.

The resultant drawings have marks that are quite faint, an empty glass jar was added to provide more weight later, mainly consisting of dragged circular marks. There were some interesting shapes.

Method 2 involved adding more graphite pencils, now 6. The result was similar but more interesting. Their was more vigour to the marks.

Method 3, a new design for the contraption was designed. This involved four graphite pencils which were secured to the cardboard to make the whole thing sturdier.

It can be noted that pebbles were added to the contraption to provide more weight. In addition two further paper clips were added so that it could be pulled in different directions by different people. I had been assisted with the building phase by Marian, my wife and we now used Angus to assist with the drawing phase.

The first of the drawing above was made with a few pebbles as weight and then more were added for the second drawing. The resultant drawings have lost the circular motions of the previous one paper clip method and produced drawings that have zig zagged lines which have a scratchy look to them.

Method 4 involved replacing the graphite pencils with felt tip pens. The same three person drawing method was employed. The result was similar to that of method 3 but now with colour. The amount of colour was largely dependant upon how the weight was distributed and the direction, motion and strength of the person pulling.

The resultant drawing has the same zig zagging scratchy lines and is shown in two different orientations below.

Reflection on the experiments

During methods 3 & 4 I found myself becoming frustrated with the other pullers as I felt that their movements weren’t random enough. On reflection I note that I feel happy to allow both random mark making and chance drips, splats etc to create my paintings but feel less inclined to allow others to be involved in the creation process. A question that I now ask myself is how much am I willing to allow collaboration in the making of my art. Can I relinquish part of the process and if so how much.

Part One – Projects 2 & 4 – ‘Further Experimental Drawings and Paintings 1’

I tried out a number of different processes for applying both paint / ink, graphite sticks and felt tip pens to paper. These explored trying to remove myself from the process, using mechanical aids for drawing, collaboration with others and using tools. The experiments cover aspects of the exercises in Projects 2 & 4 and are a continuation of the work completed for Project 1.

In this blog I will document the processes used, the outcomes and my thoughts and reflections on the results and what I learned.

I initially carried out four experiments using different techniques and ways of making marks and applying paint to paper. This was followed up by trying to utilise a mechanical or constructed drawing tool. All of these experiments and their outcomes are documented below.

Experiment 1, Door Drawing – For this five felt tip pens were attached to the bottom of a door and paper placed in such a way so that marks were made when the door was opened and closed.

Drawing in progress – Time lapse video

I found the results of this process poor and uninteresting. The paper was moved once, in hindsight it could have been moved more, but the marks being made were of a uniform nature.

Experiment 2, Paint Dripping 1 – This process involved a small yoghurt pot suspended from string above paper. A small hole was made in the bottom of the pot. Black drawing ink and later diluted red acrylic paint was allowed to drip from the pot onto the paper.

Time lapse video

This process created a limited range of paint drips on the paper. The drips tended to be centred towards the middle of the paper and consisted of blobs of paint. I did notice that when the red acrylic paint was added that there were some momentary interesting pools of mixed colour. However these soon faded away and an uninteresting muddy pool remained.

Experiment 3, Paint Dripping 2 – for this I used a similar process as that used for the previous dripping but the string was made into a swing motion. The aim was to try to make the marks elongated. The paper I used was part of a roll of Xmas wrapping paper. Whilst the swing motion was in progress the paper was moved so as to vary where the drips fell.

A further process was introduced whereby some of the discarded string along with a hairclip, to give it some weight, was dipped into the residue ink from Experiment 2 and this was dragged and pulled across the painting.

The resultant painting has interest as the marks have an energy to them. the random quality challenges the eye to try to make sense of the painting. Additionally the Xmas wrapping paper gives the painting a feeling of fragility and delicacy.

Experiment 4, Paint Dripping & Splattering. I used a similar technique to that used for the second part of Experiment 3. I started but trying to drag a sponge, which had been dipped in ink, across the surface of the paper. This proved to be unsatisfactory as the sponge had very little weight and made poor contact with the paper. I had already performed some dripping and again used the hairclip weighted string to create random marks. Lastly using a food syringe I squirted diluted yellow acrylic paint onto the surface. This was allowed to run down the paper when I lifted it

Painting before lifting
Finished painting after lifting

Similar to Experiment 3 this painting has a lively, energetic feel to it. The lifting of the paper allowed the paint and ink to reveal drained, washed out sections which contrast with the small scratchy string made marks. This helps to convey a sense of movement.

Reflection on results

I appreciate that these experiments were mainly concerned with the process rather than the outcome and the techniques used could be refined and manipulated to perhaps create more interesting and fulfilling results. However the breaking of the conscious connection to the mark making / painting is challenging and thrilling. It also prevents the paintings from being pictorial. The aesthetics of the paint or ink and the paper supports are explored. My challenge is to try to invent further ways to apply paint and marks to create works that have more satisfactory results.

Follow on work from Exercise One

After completion of exercise one I wanted to explore drawing with Rotring Drawing Ink and using some of the techniques I employed with Graphite and pencil. It was also my intention to test out how far lines could be extended using Chinese brushes. I started with A3+ size paper and practiced using the Chinese brushes and testing out the different types of marks that could be made. The result was a messy drawing of mixed marks.

Exercise one – Chinese brush marks with drawing ink

One of the techniques that I used was to drag the brush across the paper using the loop of string at the top of the brush. This prevented me from most of the control of the mark made. I tested this out further and created the drawing below. It is a series of long sweeping strokes which I feel have a sensual quality.

Exercise One – Chinese brush pulling technique

Next I made a couple of smaller A5 sketches trying to use the qualities of the Chinese brushes.

Exercise One – Chinese brush tests 1
Exercise 1 – Chinese brush tests 2

Both of the above sketches utilised very little conscious control of the brush which created the abstract nature of the sketches. As a quick additional exercise I did make a quick sketch of a lonely tree. Nothing to do with exercise one but an opportunity to try out the mark making of the Chinese brushes.

Lastly I dispensed with brushes altogether and poured small amounts of ink directly onto paper and using a paper straw blow the ink in different directions. As far as possible I tried not to control the blowing and to let the ink find its own path across the paper.

Exercise 1 – Blown drawing ink

I liked the result of this process and how the tonal effects changed depending upon how thick the ink was. Having left the work overnight I returned to it and applied more ink in the same way. This increased the layers and added interest to the painting.

Post script 3/2/20 Whilst I feel that I should leave the viewer to find their own reference points in the painting I can’t but help to note that to me it suggests a Dog splashing in a puddle.

Exercise 1 – Blown drawing ink (reworked)

I then hung the painting up against the conservatory window which allowed the painting to be backlit which increased the emphasis of the tonal variations.

Exercise 1 – Brown drawing ink (reworked) backlit

I became aware that I had moved someway from the exercise but reading ahead in the course it was apparent that these experiments would follow through into Exercise Two.

Project One – ‘Gesture – the limits of the bodies reach’ Exercise 1 (part 2)

Having performed some research into the work of Tony Orrico, see separate blog under Research, I decided that it would be an interesting challenge to try to replicate the process used for his kneeling drawings. “Penwald: 3: circle on knees (studio impression 1) 2011″.

Penwald 3

Having purchased 10 metres of 1 metre wide paper I laid a length about the same as my height on the floor. I held a graphite stick in both hands and proceeded to make marks on the paper. I did this firstly by lying face down on the paper and then kneeling and moving in a circular motion. The marks were made without conscious thought to where they were made. The graphite hit, marked the paper either by wrist and finger movements or the swing of my arms. For the whole process I was photographed.

Below in chronological order are the photographs.

There is also some video footage, two videos which I have added below.

Drawing in progress

The resultant drawing is replicated below.

Final Drawing from process

What did I learn from this exercise?

The act of drawing or making marks on paper was a full physical experience rather than a conscious mental one. Whilst performing the drawing I was more involved in the physicality of the process. My thoughts were concentrated on ensuring that I made contact with the paper at each swing of my arms and also the need to keep moving round in a circle. The exercise was timed to last 5 minutes. About halfway through I started to flag and feel uncomfortable in my hip. However I continued until the 5 minutes had passed. The sound of the graphite sticks hitting the paper became more and more noticeable as I continued. As I was working on a tiled floor there were tonal differences in the underlying tiles, particularly one which had obviously not been laid properly and must have an air gap underneath.

My thoughts on the finished drawing are mixed. It is interesting from the perspective of asking the question as to how it was created rather than what is it? The marks have an energy to them. They have an initial dot followed by a line. The lines are of different tones due to the force of the arm. I have no idea whether the marks got lighter the longer I proceeded. Also I suspect that there is a difference between the marks made by either arm.

In summary it is a document of a process but that is what all drawings are?

Project One ‘Gesture – the limits of the bodies reach’ – Exercise 1 (part 1)

My starting point for this exercise was to make a series of drawings working on a table and going from small to large.

The first drawing, shown below, was made in an A5 sketch book. For this drawing I used graphite and charcoal pencils. The only movement I allowed myself to make was with my fingers.

Exercise 1 – Drawing 1

I made notes on the Drawing after completing it, they read:

“Marks made using only fingers. Extending the pencil, charcoal pencil to the end of my fingers enabled me to expand the range and size of marks, dots and lines. Strokes were limited. It was difficult to make expressive, gestural marks.

The extent of reach was confined to the length of the pencil or drawing tool. The control and extended reach was vert limited. I also tried holding the drawing tool differently. The normal method of holding a pencil is similar to that used when writing. By resting the side of my hand on the table I could expend the range but control was poor. would this improve with practice? I shall move onto the wrist, larger paper needed.”

Exercise 1 – Drawing 2

For this drawing I used A3+ size paper and started making small marks using only my fingers and gradually introduced wrist movements, elbow movements and finally the shoulder. When I got to the shoulder the paper size was not large enough.

Exercise 1 – Drawing 3

Wrist and fingers only used in four positions. Movements limited to lines, arcs, small circles and squiggles.

Exercise 1 – Drawing 4

Elbow, Wrist and fingers (seated position). Extended range but limited movement away from confines of arc of elbow.

Exercise 1 – Drawing 5

Similar technique used as that for Drawing 4. For this one I limited myself to lines only.

Exercise 1 – Drawing 6

For this Drawing I limited myself to using wrist and fingers only. This was a timed Drawing of 5 minutes. I noted that I became bored about halfway through.

Exercise 1 – Drawing 7

I used my full arm, including shoulder, in a seated position and made this Drawing with a single continual line.

Exercise 1 – Drawing 8

For this drawing I undertook a standing position and made a repeated sweeping figure of eight movement for 5 minutes. The 5 minutes seemed long.