This blog follows on from my previous one relating to using feathers as a medium. It was whilst working through that exercise that an additional experimental project was suggested to me. Painting with soap. I had noted previously in the course material the reference to Rashid Johnson using soap as a painting medium but hadn’t followed up this idea. Completely independently the suggestion to try to use soap to paint with had come from Marian, my wife. She had observed my struggles and seen the resulting feather paintings and suggested that I should try soap as a material. I was sceptical but agreed to give it a go. Marian makes soap, one of her hobbies, in doing so she uses different pigments, aromas and chemicals to create interest in the soap. I will document the soap making process later in this blog. The collaborative aspect of this project also appealed to me. I had to rely on a third party to supply my materials. However this is only slightly different from purchasing them from artists suppliers. Note that at this point I hadn’t seen the soap paintings of Rashid Johnson so was in no way influenced by them. The results, unsurprisingly, are entirely different.
The process started by the making of soap from first principles. Not being a chemist or understanding the process of saponification I have had to make notes from Marian. These are below……………………………
Cold Process Soap I’ve used a cold process soap that relies on the saponification reaction between the hydroxide portion of NaOH (Lye) and the fatty acid portion of various triglyceride molecules. The soap was made using sunflower oil and concentrated NaOH solution. The oil was warmed to a room temperature and the NaOH solution was added. The mixture was mixed using a hand blender until full emulsification was reached. This is a very liquid stage. The mixture was then decanted into several separate jugs and coloured micas, charcoal powder or spinach powder was added to achieve the desired colour palate. The mixtures were then blended again to a ‘slight trace’ and then used.
The six coloured soaps that were made from this process are shown below. These would be used for the painting. The corrosive nature of the soap prior to its chemical reaction meant that I would have to wear rubber gloves and be careful not to get any material on my skin. No scratching my nose whilst painting.
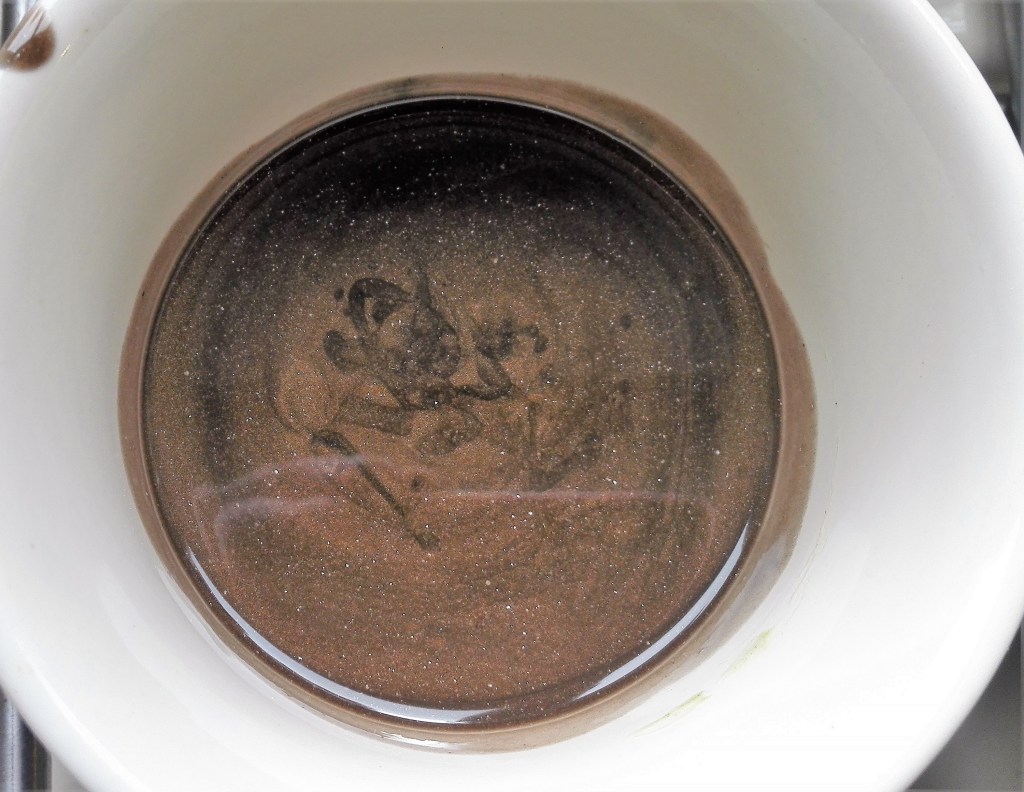
Dark Brown 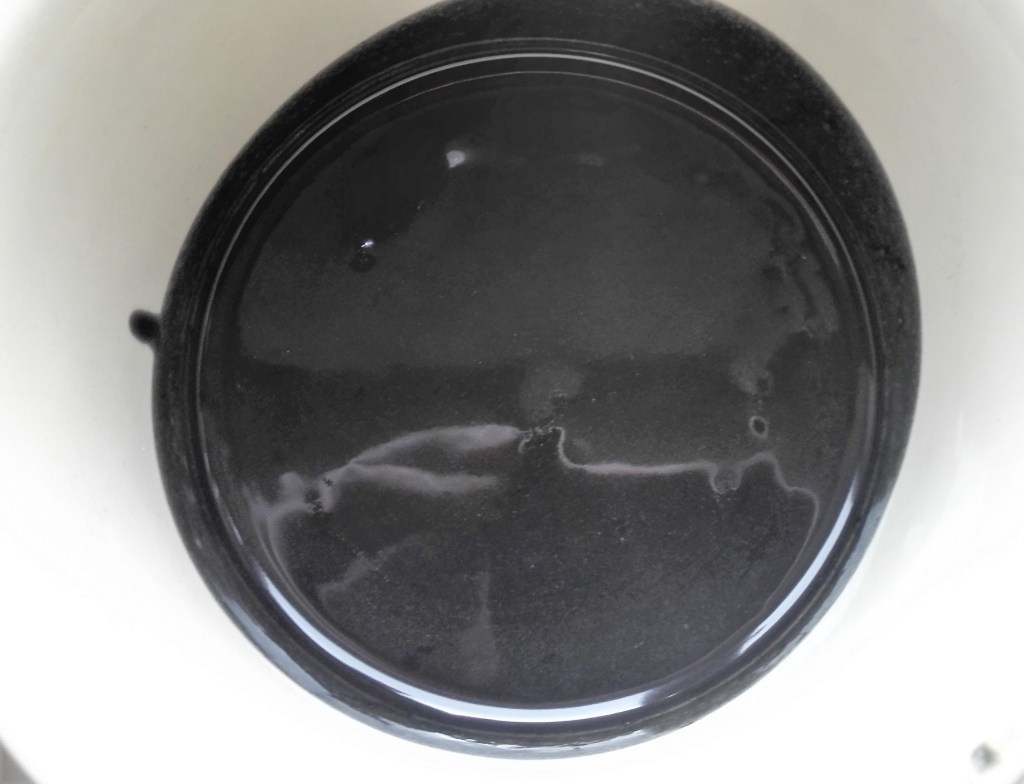
Dark Grey / Black 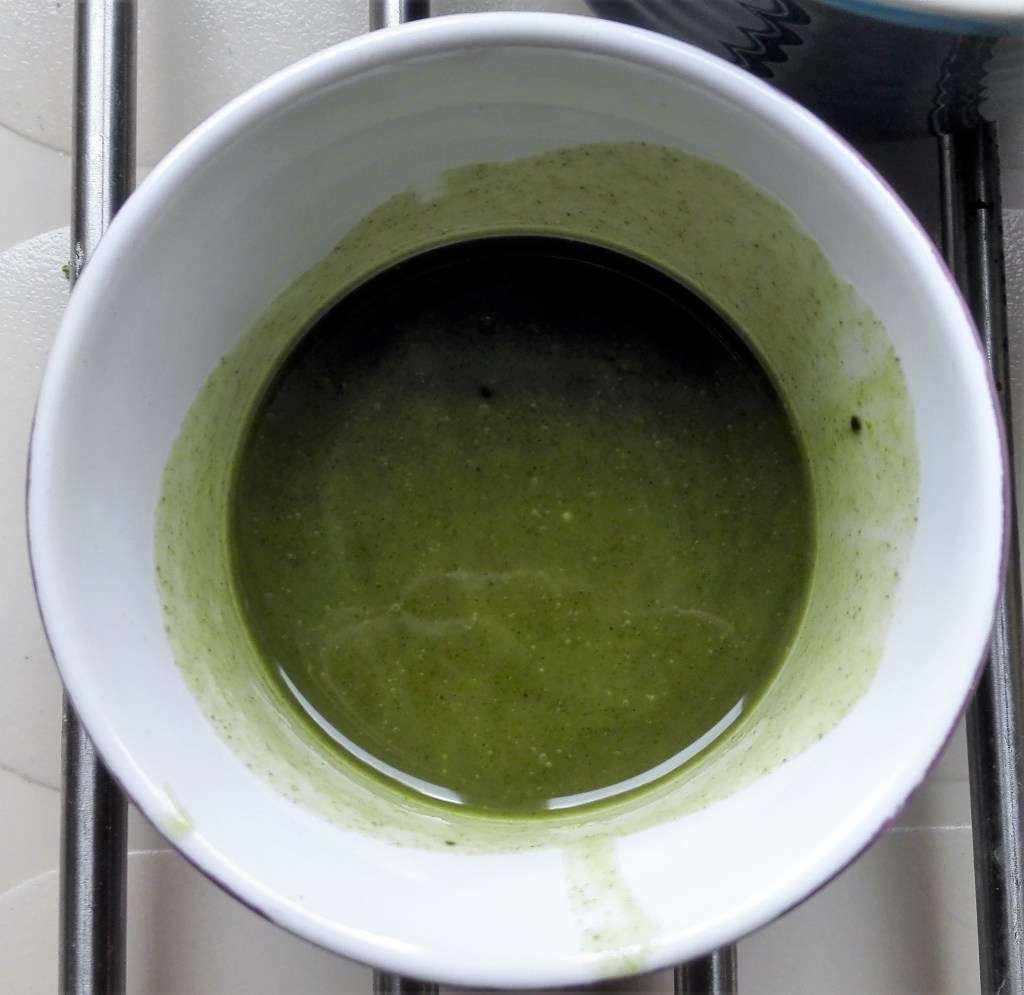
Green ‘Olive’ 
Light blue 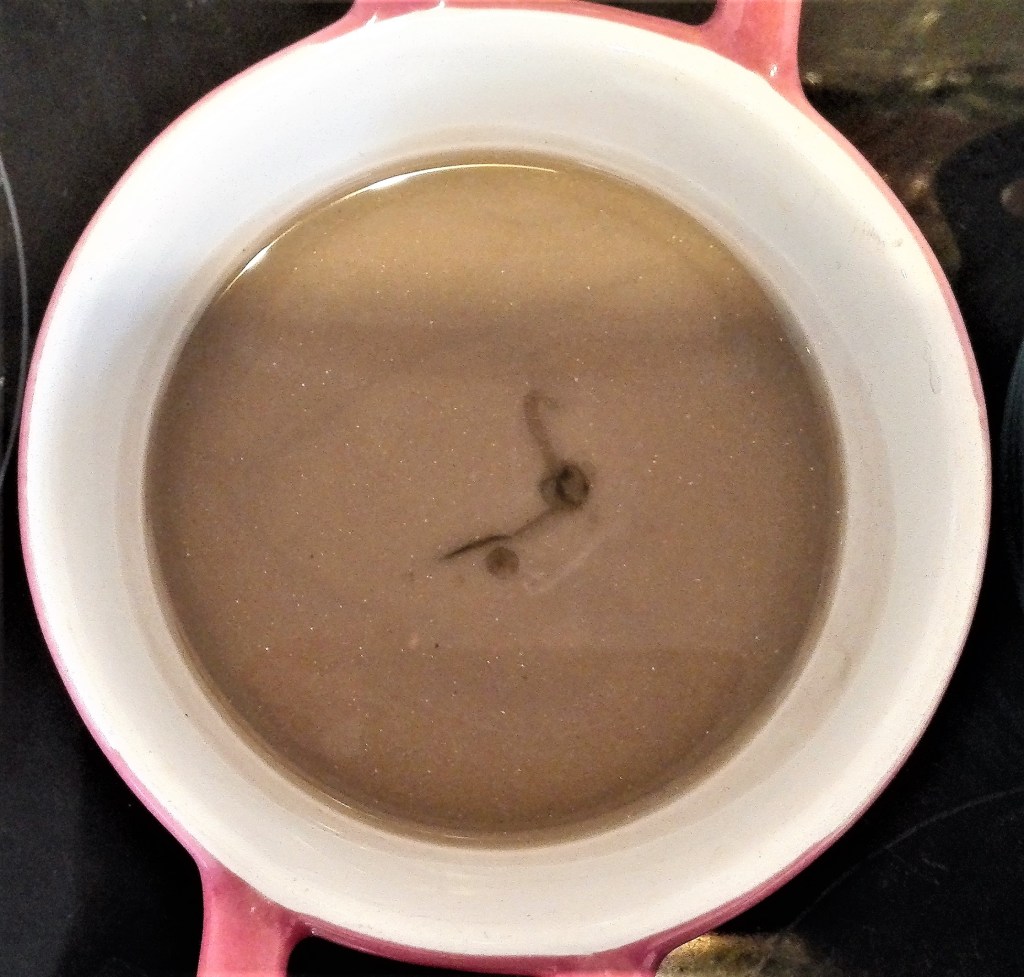
Light Brown 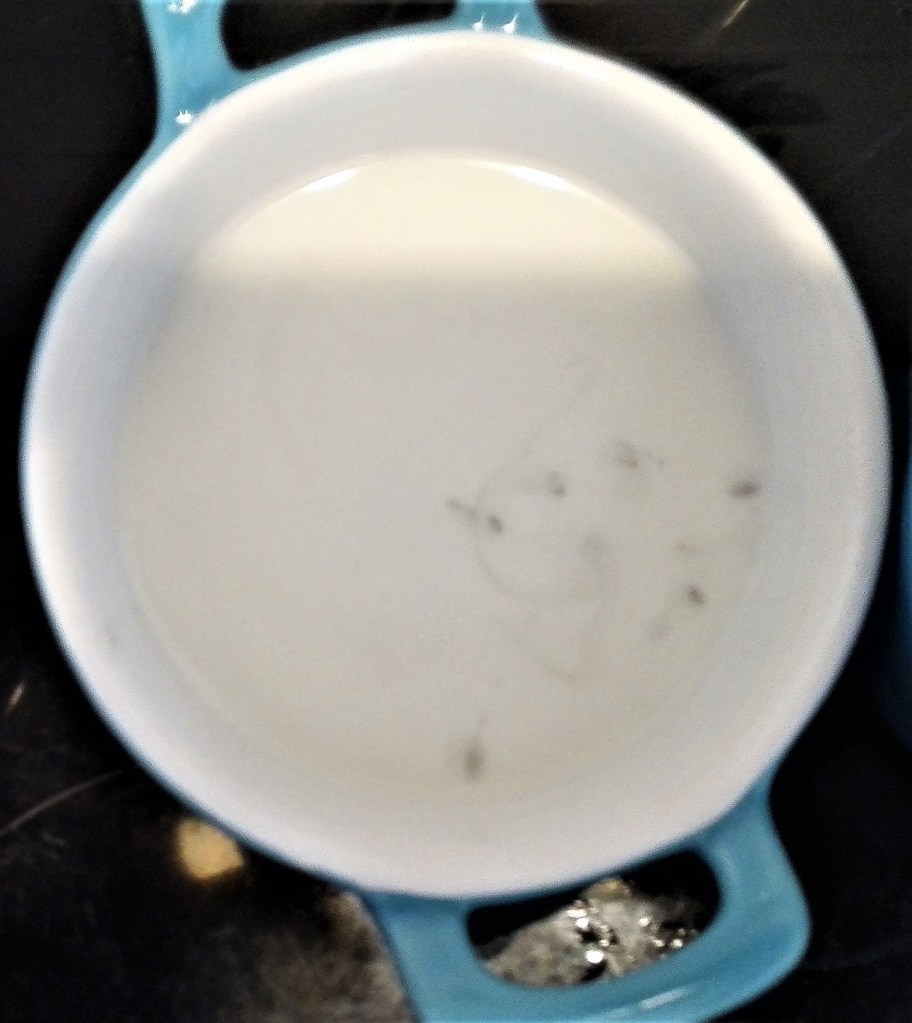
White 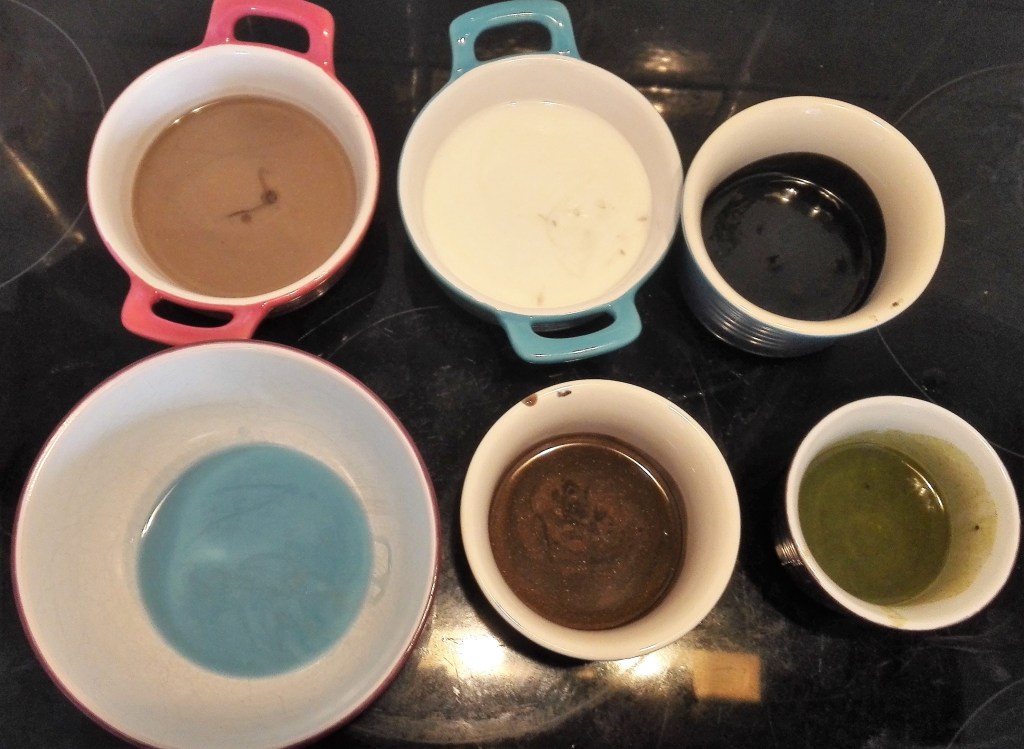
Two supports were also created these consisted of soap poured into trays. The coloured soap would then be applied via palette knife to build up a painting. The soap supports when laid down with material measured 19 x 25 cms. The depth of the soap is approximately 0.5cm. Interesting to note at this point that the material is also the support. Prior to painting this is how the supports looked. They could be, and are, paintings in their own right. They are the result of pouring the soap, a technique that could be used to create soap abstract soap paintings. They no longer exist in this form.

My aim was to exert some control over the process. The pouring had created paintings but I wanted to take the act painting with soap to a more interventionist level. To do this I would use palette knives to paint with.
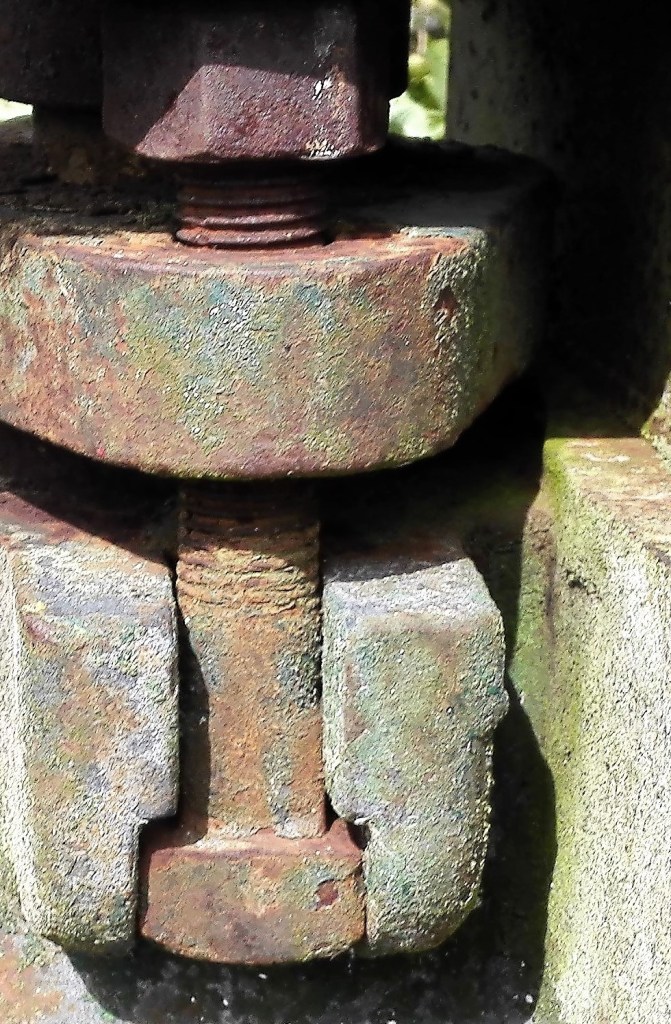
Throughout the project I had an image in mind that I would use as the template for the painting. It was a further image taken from the old pump series that I had used for some of my initial Parallel project paintings. The photograph would predominantly be used a shape, colour and tone guide.
I would work on on both supports simultaneously. This was partly necessitated due to the ‘open time’ of the material. This gave me several hours to complete the paintings before the chemical reaction would render the material unusable. The first painting became the more experimental of the two as I was testing out how to apply the soap material. They way it reacted with the support and how to mix and blend colours. The soap had a buttery texture which allowed it be applied in both spreading and dabbing motions. I found that it mixed reasonably well and variations of colour and tone could be achieved.
The work in progress:
It was more difficult to draw partly due to using palette knives. In was during the second painting that I found a solution for this. By pushing the knife into the support this created a line on the surface. I found that I could manipulate this into controlled curves or straight lines. The act of cutting into the support layer changed the textures of both the support and material giving a textured effect. Armed with these techniques I proceeded to create the following two paintings on which I will discuss my thoughts on the results.
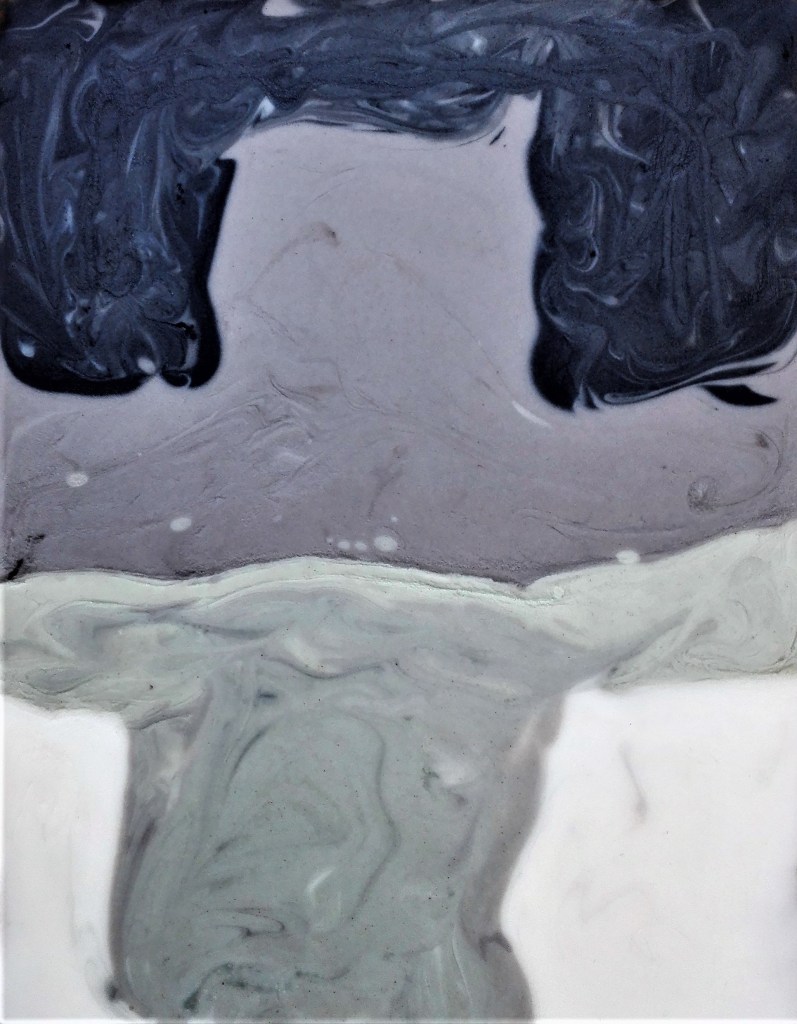
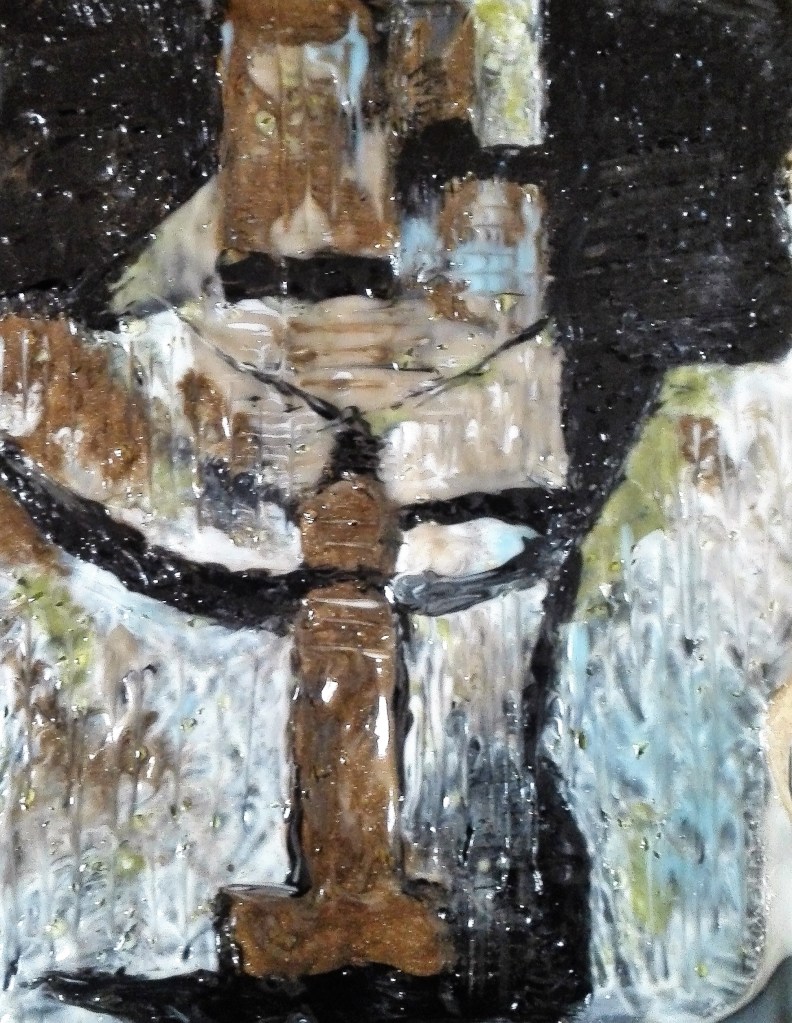
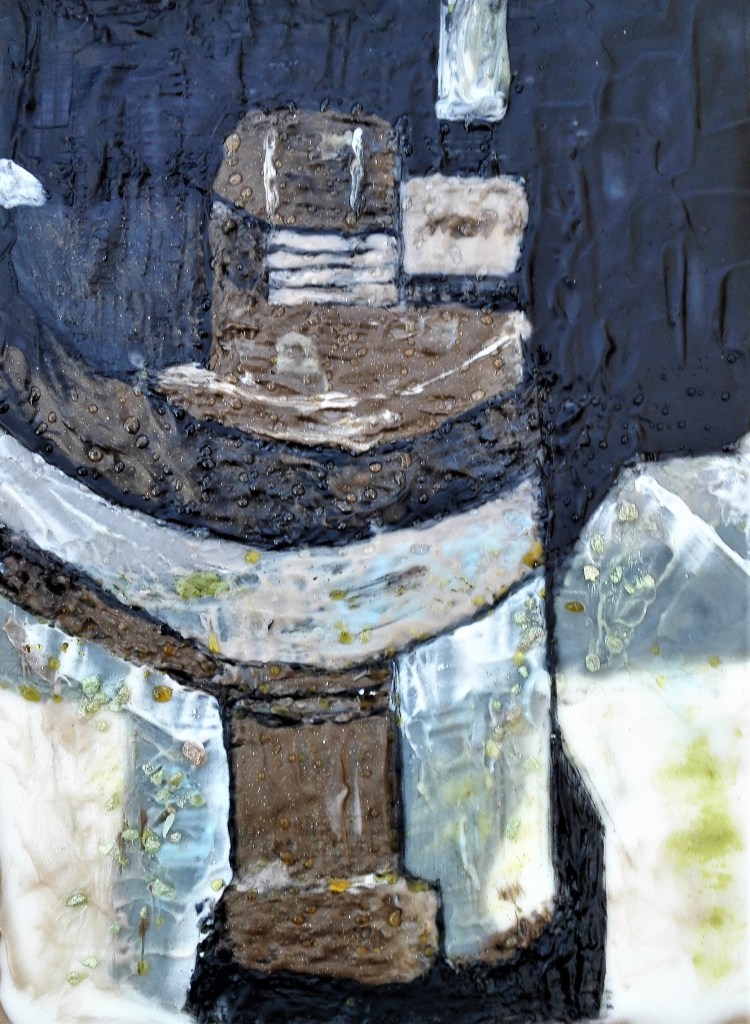
Soap Painting 1

This abstract work invokes a feel and look of damp decay. Dark recesses, faded paint, mildew, exposed plaster. A neglected corner of a building ravaged by the effects of water and time.
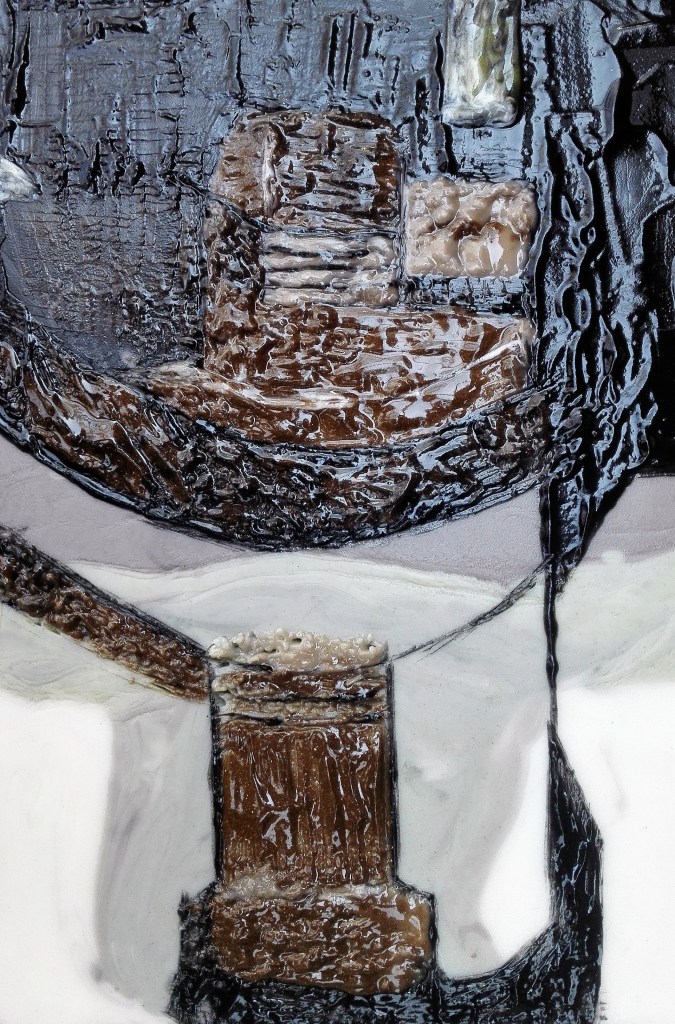
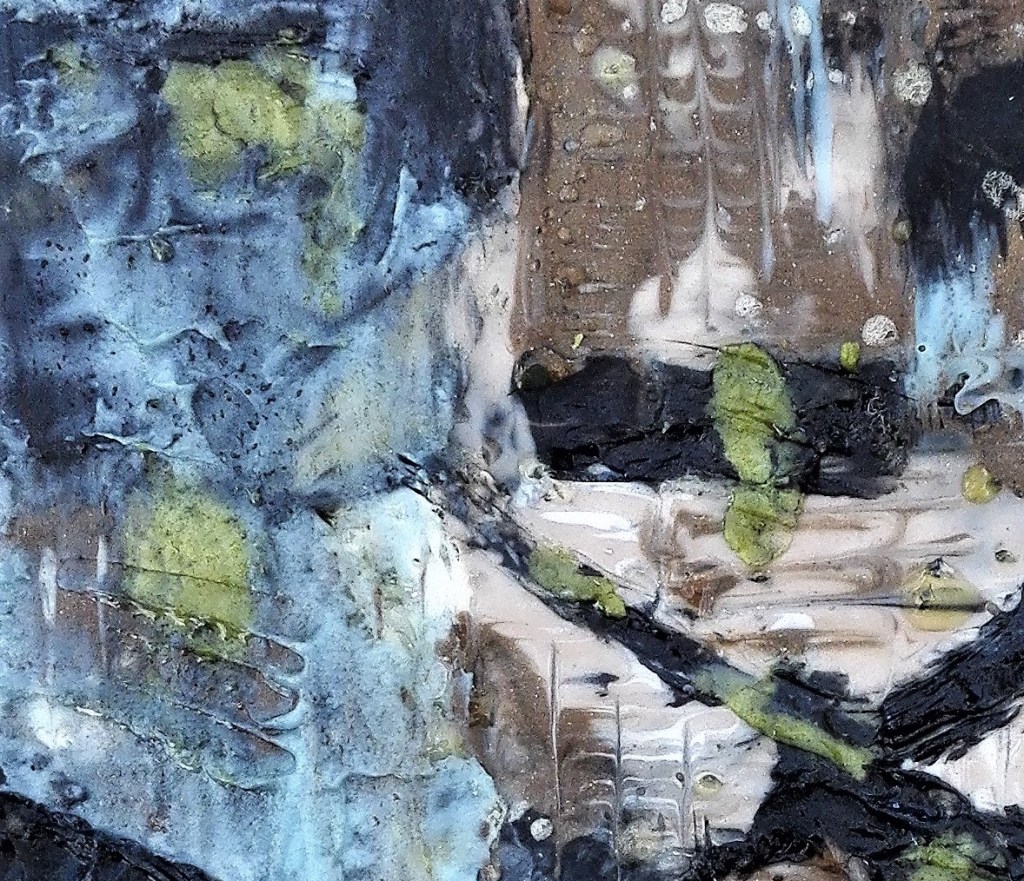
The textural aspect of the soap, the act of its application, its translucent properties when applied thinly and the way in which the colours mix together can be observed in the two close up views below.
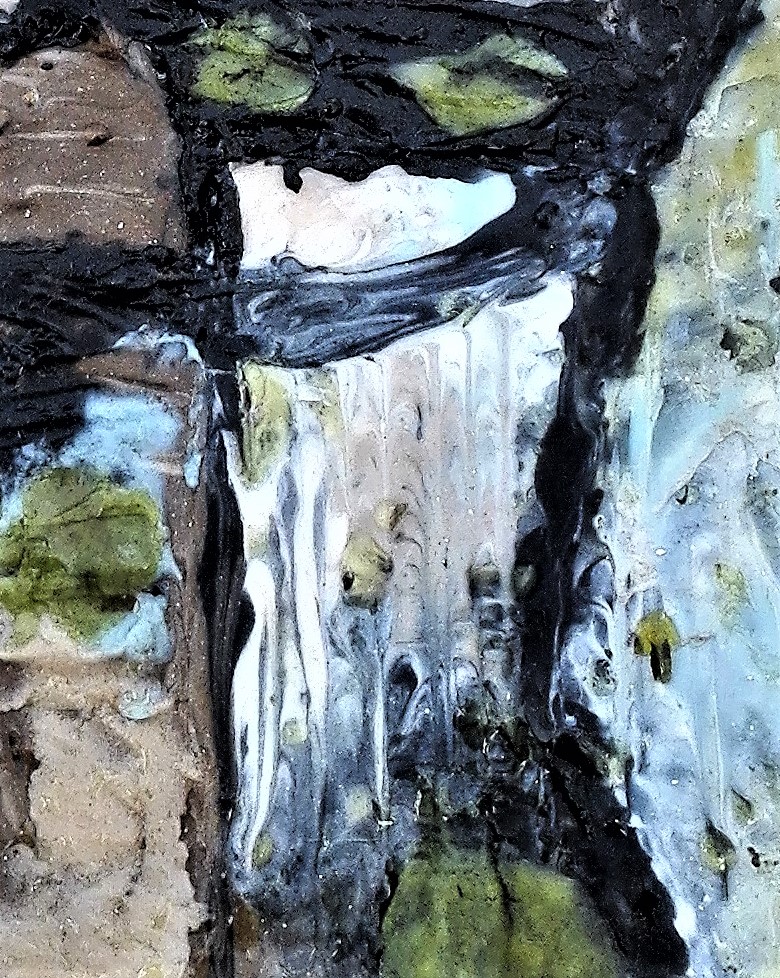
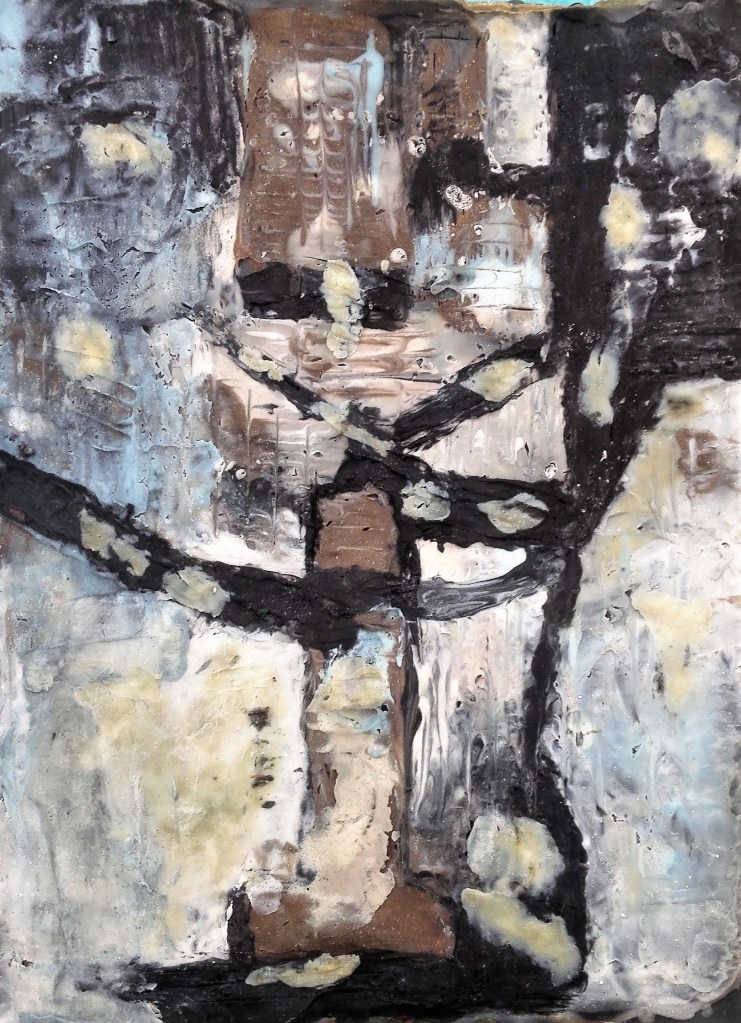
Soap Painting 2
In this abstract painting there is evidence of form. This is loosely described leaving much to be explored and imagined. The control of the application of the material is evident. The addition of pigmented salt to the surface adds to the rough look.
Summary, the project has been successful in its learning points, the challenges of the material and the resolution thereof, and the outcome. Whilst I doubt that soap will become my material of choice it is certainly an option. In having to adapt the methodology of applying material it has opened up new avenues to explore further.
Lastly to quote Rashid Johnson in his interview with Alistair Sooke “at the end of the day you can cleanse yourself with the painting”.
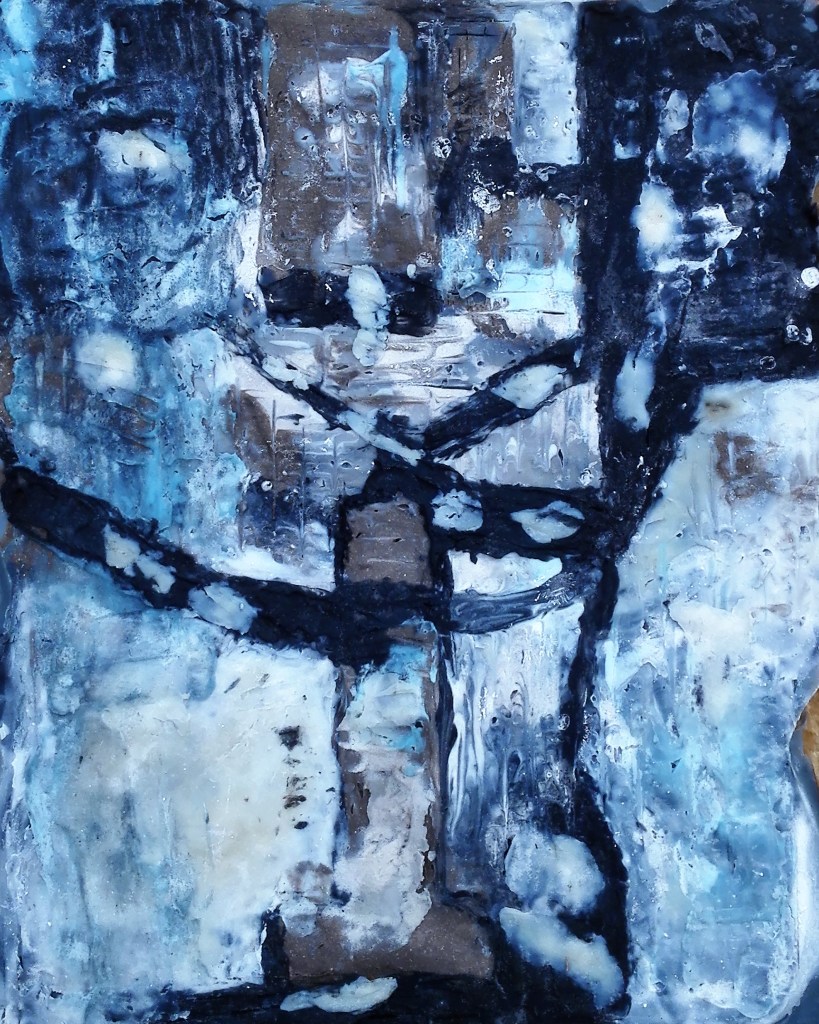
Post script: I have noticed that as the saponification process takes place the colours have faded quite dramatically. The green has now become a pale yellow meanwhile the light blue has become more prominent. There is also some bleed through from the lower layers which has increased the translucent effect. This is particularly noticeable under the white. I expect that this effects will continue until saponification is complete. I will document this with a number of photographs which I will post below.
The Soap paintings after two days, saponification still some way off. The material is still very flexible and soft.
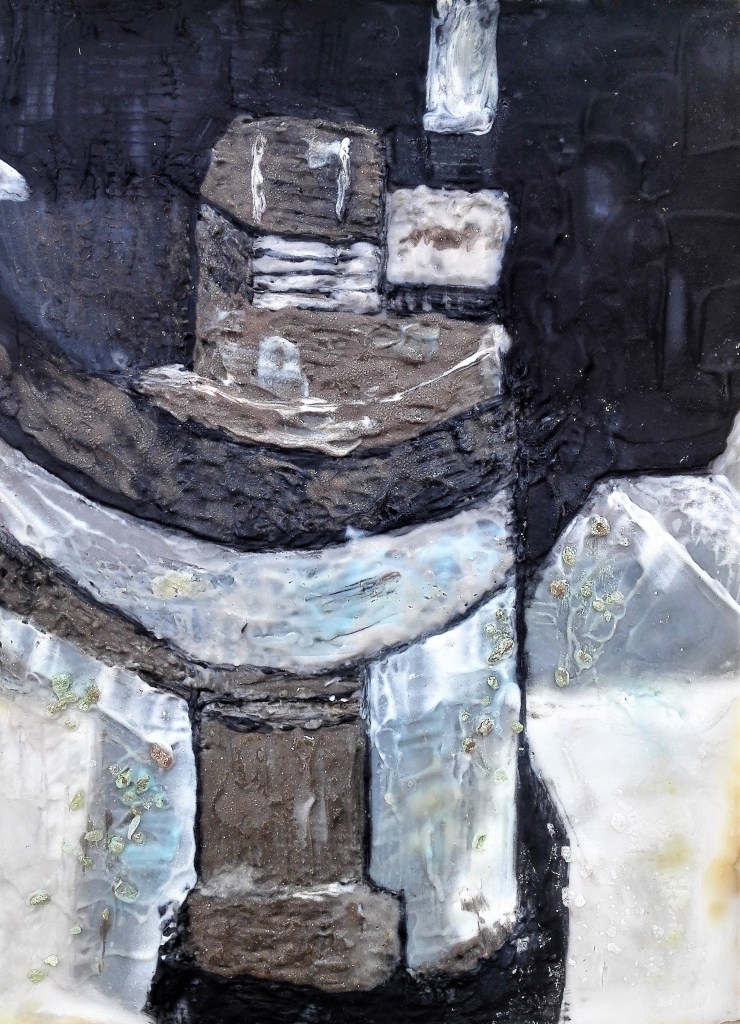
After 10 days the saponification process is almost complete and the paintings could be used as soap. In their current shape the would be rather awkward. A better option would be to cut them into cubes. The deterioration in the colours has slowed and I suspect that they have reached a point where they will maintain there current status for several months, if not much longer. To my mind the second soap painting is much the better result. The clear delineation between the parts of the painting, defined by the carefully painted black lines help to give a sense of shape and coherence. It looks deliberate. By comparison the first painting looks a little messy but does have a sense of abandon and has retained a look of deterioration. It is also very noticeable how the blue has become far more prominent. This is partly due to the different lighting conditions when the photographs were taken. However I notice that it is less pronounced in Soap painting 2.
Final photographs of the two paintings below:


One thought on “Project 4 Painting without paint – Exercise 1.3 Exploring unconventional painting materials – SOAP”